Table of Contents
Imaging Insects in 3D
In spring 2019, Keegan and five other freshmen at the Rochester Institute of Technology were given the challenge to build an imaging science system from scratch. The goal of the project was to engineer a system that transforms pictures of real life objects into virtual 3D models.
This project was a collaboration with Rochester’s Seneca Park Zoo. They requested this system to be made so that it could be brought to remote parts of the rainforest and be used to record models of rare and/or delicate Amazonian bugs without harming them. These models could then be curated into a virtual reality museum for a one-of-a-kind immersive experience.
The Design
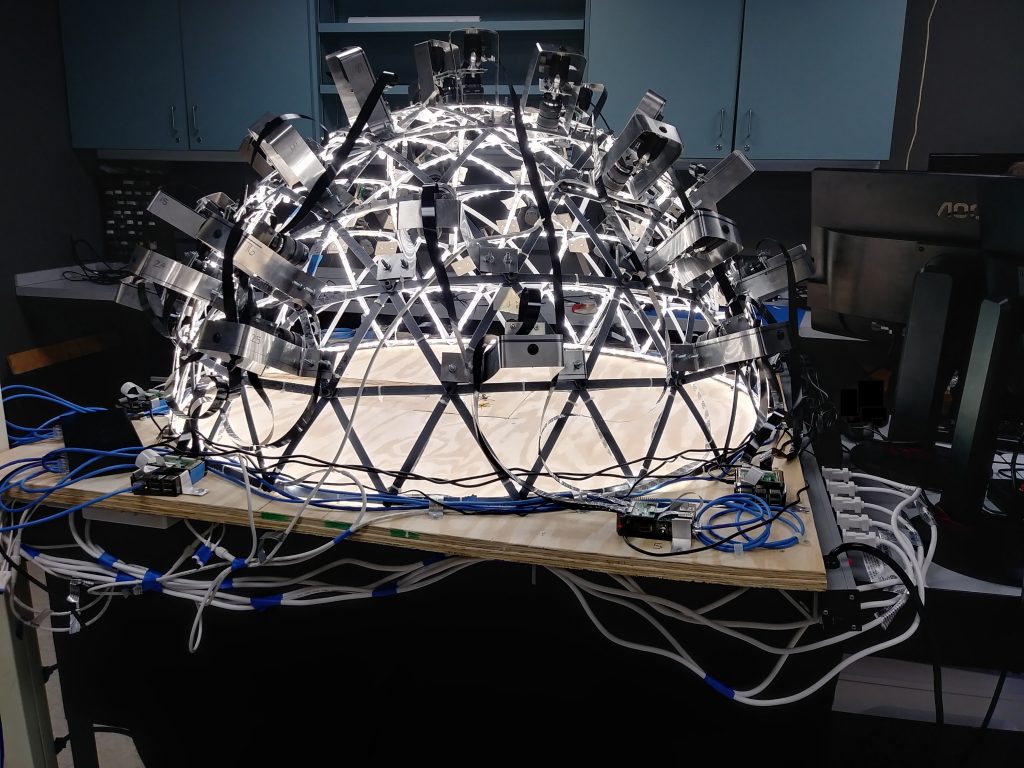
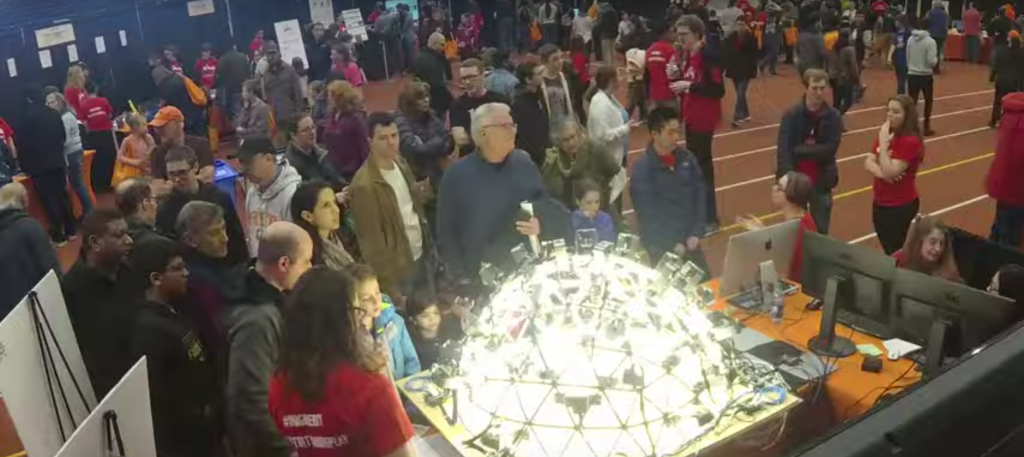
The design is built around a geodesic metal dome frame from which over 100 feet (30.48 m) of LED strips are attached. Thirty-two Raspberry Pi cameras are attached at varying altitudes and are subsequently connected to eight Raspberry Pi modules at the base of the dome. The base is custom-made to easily move the subject into the cameras’ focus. At the press of a button, all camera trigger and the image data flows onto the processing computer which automatically starts to stitch together the images using 3D reconstruction software, COLMAP. After roughly five minutes, the 3D model is published to https://sketchfab.com/FIP-Cohort9/collections/imaginerit (models are also shown below).
My Contribution
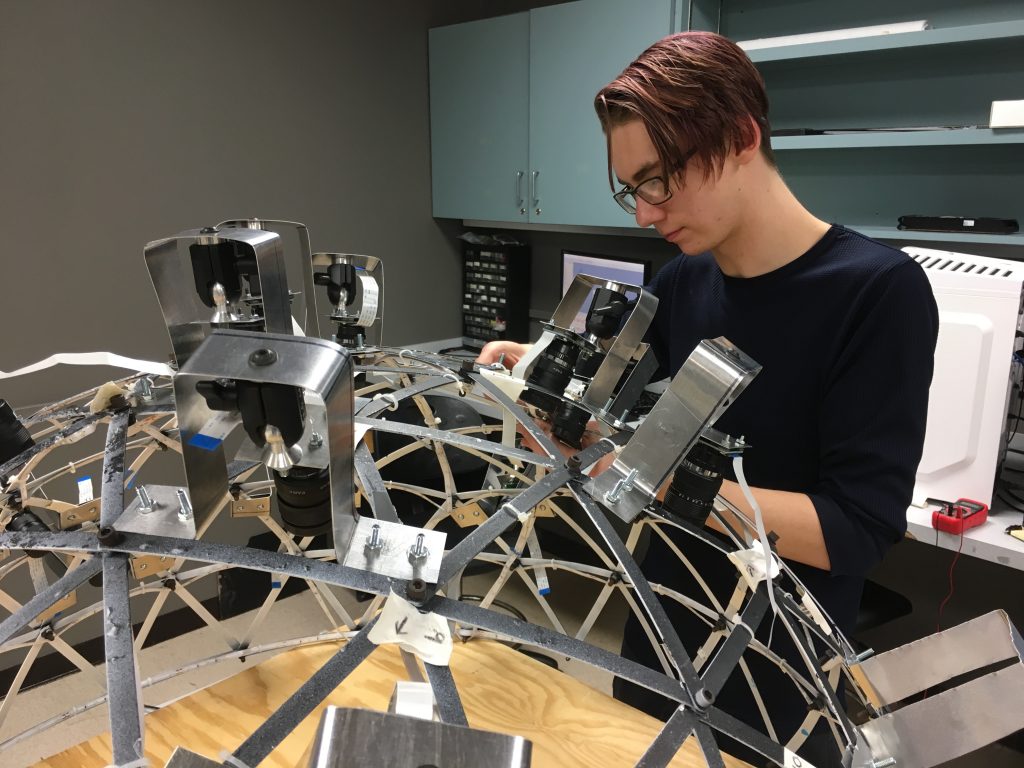
When I joined the team, they had a way to capture the pictures and a way to stitch the images together to create a model, but no way to transfer the pictures to where they needed to be. I used Pugh analysis to choose a data flow system that streams the image data from the cameras to the processing computer. Additionally, I was in charge of developing and implementing the lighting system. Several rounds of ideation and testing were done to ensure diffused lighting and a lack of shadows. Lastly, I spearheaded construction of the dome’s accessories (i.e. LED light strips, camera attachments, lenses).
In addition to my own responsibilities, I oversaw the progress of my colleagues’ work. I helped in the decision-making of the cameras, base, and image stitching software. I motivated my fellow team members to get their work done and assist wherever I could. Furthermore, I presented a critical design review presentation to RIT Imaging Science staff for critique. This project was also showcased at the annual innovation festival Imagine RIT, which encourages over 33,000 visitors to campus for a whole day of creativity and fun. The sheer amount of tasks to be done spread over six team members challenged each one of us to stretch our abilities and improve our technical and teamwork abilities.
How It Works
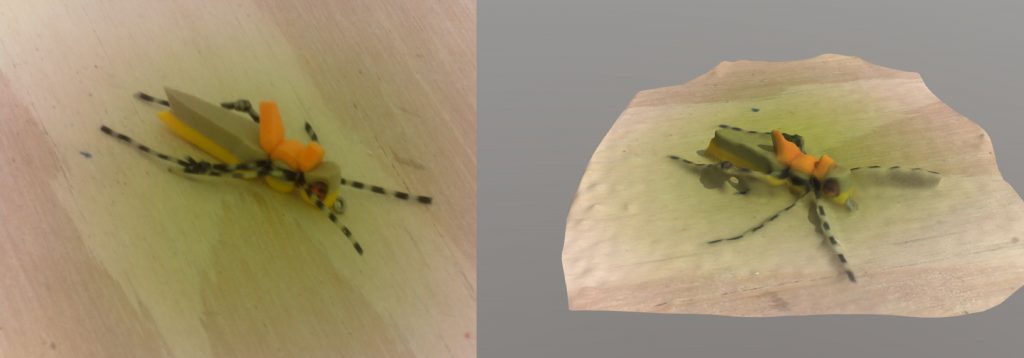
Once the subject to be modeled is situated in the center of the dome, a button is pressed that triggers thirty-two cameras at the same time and it is orchestrated by eight Raspberry Pi modules. The image data flows through multiplexers, onto the Raspberry Pi modules, into an Ethernet switch, and collected in a folder on the processing computer. COLMAP 3D reconstruction software interpolates a point cloud from the images, creates a mesh between the points and adds a texture for a realistic effect. The model is then automatically published to the Sketchfab website to be viewed later by anyone. This process was optimized so that it took under five minutes.
This sounds simple enough, but every single decision made is a product of the limitations of the 3D reconstruction software. So what are the limitations?
Challenges
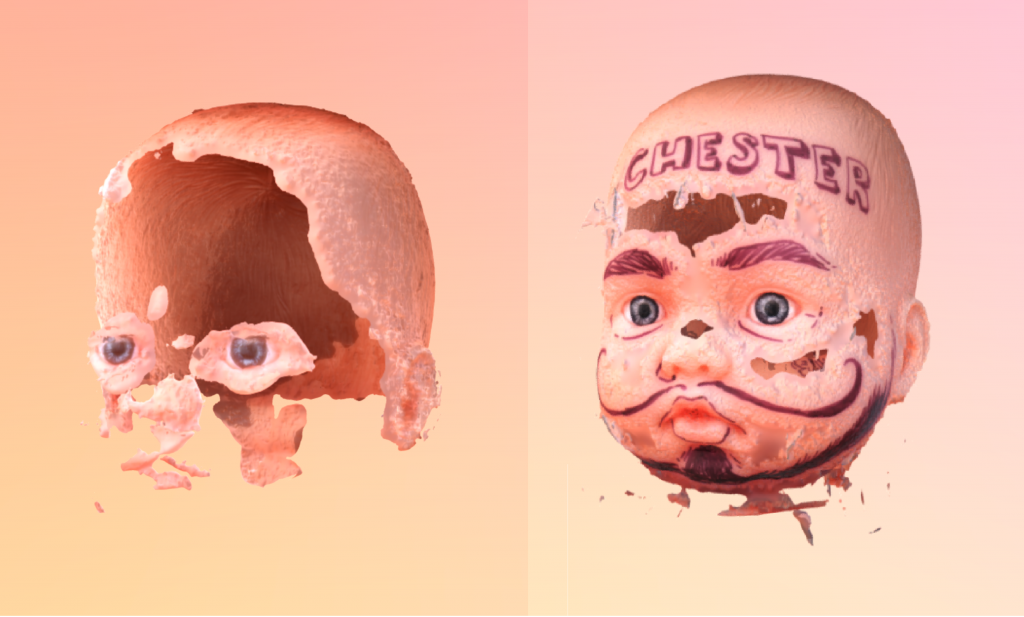
The picture above is of two testing models of Chester, the baby doll head. Although the left side is terrifying, it gives a key insight to what makes a good model. Smooth surfaces do not have many distinguishing features, which makes it difficult for the reconstruction software to know the curvature of the figure. Thus, the software does not have enough data and fills the spot in with a hole. The distinct features of the “tattooed” baby head help the software connect points easily. This is also why a wooden base, with plenty of distinct patterns was chosen to help orientate the subject in each model.
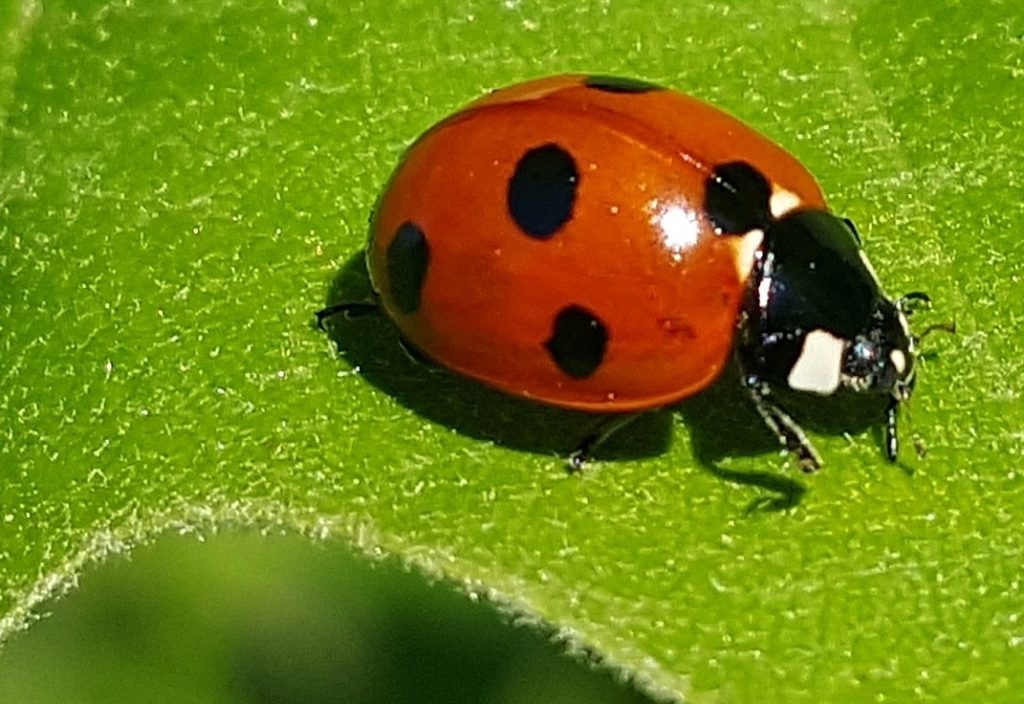
Another limitation of the software is specularities. If you look at the lady bug photo above, the bright white spot is the specular reflection of the lighting source. It not only blocks the color of the ladybug wing underneath, but at different angles, the spot will move around with the camera. This means there will be a hole in the model, just like there was with the baby head. To combat specular reflections the lighting system must be bright enough to remove shadows, yet diffused enough to not produce specular artifacts. If a mirror was placed into imaging system, nothing but the wooden base underneath would be produced in the model, since every image will have a different reflection of the light strips. Furthermore, thoughts of having a full sphere of cameras were considered, but since the background of every camera would be the light strips, it made it infeasible to create models with. Finally, bases that illuminated the subject from below were contemplated, but again, the lights would look different in every image leading to poor models.
Model Examples
Future Suggestions
If there was more time, this is what I would modify or add. I think it would be interesting to make a dynamic system that captures the subject’s motion and translates that into a 3D video or animation. This system was designed for subjects on the scale of a half inch to two inches, but it could go larger or smaller depending on the purpose. The same software has been used to make realistic models of houses, forests, and towns, so there is versatility to be had there. If there was a way to make a model of the underneath as well as the top of the subject at the same time, instead of stitching together two separate models, that could be very helpful. Additionally, if a different base was engineered so that models could be separated from the wood, that could cause a lot less pain for the Zoo who wants to make a virtual reality bug museum. There is masking technology that could solve the same problem. In conclusion, there is a lot there can be done to improve the design.
Acknowledgments
I would like to thank my five teammates on this project: Andrea Avendano-Martinez, Josh Carstens, Lily Gaffney, Morgan Webb, and Emma Wilson. Special thank you to the team supervisor, Joe Pow, and the teaching assistant, Sheela Ahmed. Thank you to the Center for Imaging Science at the Rochester Institute of Technology (click here to see their article on the project), and their staff members such as Chris Lapszynski, Carl Salvaggio, Matt Casella, Brett Matzke, and Tim Bauch.

